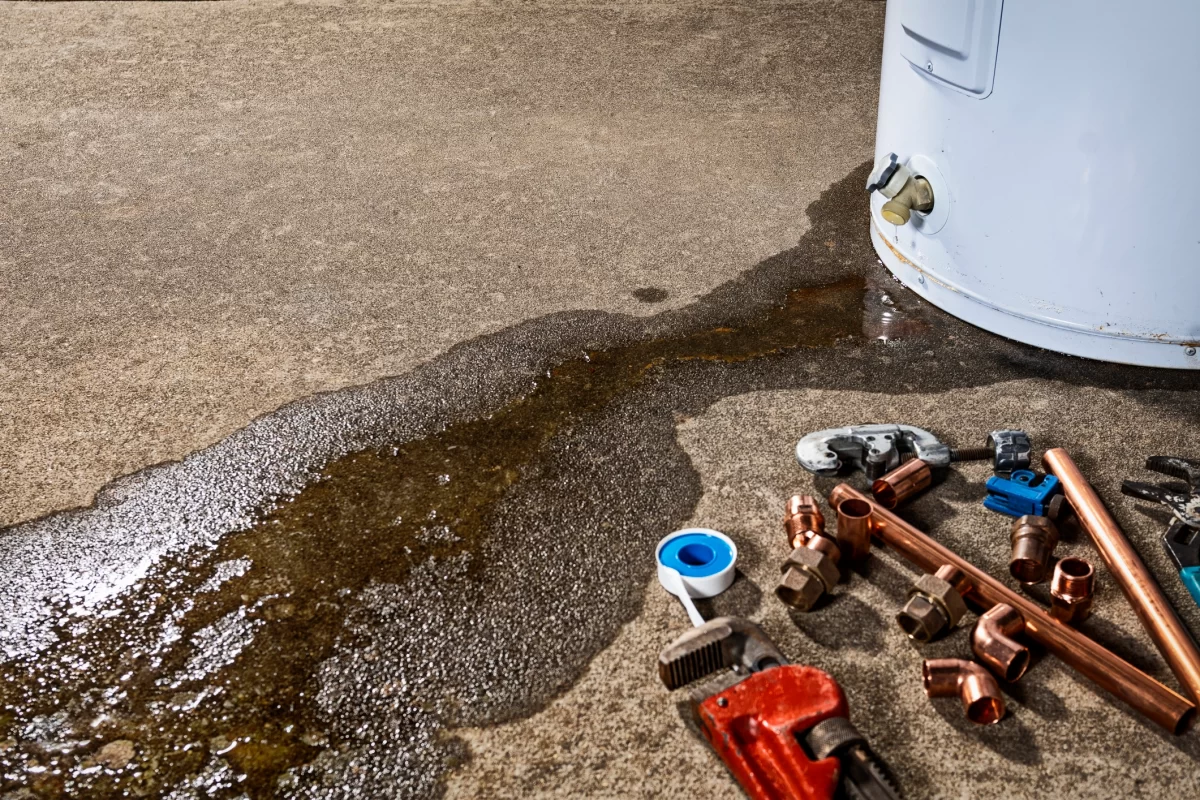
A water heater supplies warm water on demand to your faucets and plumbing fixtures. And, without it, you would have to manually heat water, which can be really frustrating. So, bless Edwin Rudd for his great invention!
But, when your water heater starts acting up, it means it’s time for some fixing and repairing.
Turn Off the Power to Your Water Heater

Locate the two circuits that regulate your water heater in your home’s electrical breaker box. Switch the switches to the off position to avoid being electrocuted while working.
If you’re not sure which circuits operate the water heater, try shutting off the circuits and using a multimeter to test the ports on your water heater. The reading should be zero volts.
Turn Off Your Water Heater’s Water Supply
The valve that controls the flow of water into your heater should be located on a pipe above or close to the unit. Adjust the valve lever so that it is perpendicular to the pipe. This keeps water from entering the tank while you’re working on it.
Completely Drain the Water Heater
Locate and tie the end of a garden hose to the drain valve at the bottom of your tank. Connect the other end of the hose to a drain, such as one on your basement floor or a bathtub drain. With a screwdriver or channel lock pliers, open the drain valve on the bottom of your water heater and allow the tank to empty entirely.
A drain should be installed adjacent to most water heaters to capture any run-off.
Remove the Access Panel That Leads to the Heating Element
The thermostat and heating element within your water heater is protected by the access panel, which is normally positioned on the side or towards the bottom of the device.
Remove the access panel with a screwdriver and set it aside.
Some electric water heaters feature two access panels, one on each side, each with its own heating element.
Unplug and Mark the Cables That Are Attached to the Heating Element

The heating element is normally located on the lower section of the access panel and is connected by two screws with red and black wires. Remove the cables by loosening the screws using a screwdriver. As you extract the wires, use masking tape to mark which screws they were joined to.
Remove the Water Heater’s Heating Element
Secure the hexagonal nut beneath the screws with a pair of channel lock pliers. To loosen the heating element, turn it counterclockwise. Continue unscrewing the heating element by hand until it is readily removed from the tank.
If you haven’t emptied the water from your tank, don’t remove the heating element. Water will leak and may burn you if you do not.
Using a Wire Brush, Scrub the Heating Element
Your heating element may accumulate calcium deposits from the water over time, making the device less effective. Place the heating element on a flat surface and use a stiff wire brush to scrape the coil. Attempt to remove as much of the residue as possible.
When you’ve cleaned one side of the coil, flip it over and scrub the other.
If you are unable to clean the heating element, you can request a replacement from the manufacturer of the water heater. They are typically priced at $35 USD.
Reattach Your Tank’s Heating Element
Re-insert the coil into the tank and begin screwing the element back on by hand. Once the heating element is hand-tight, tighten the unit in place with your channel lock pliers. Before tightening the wires with a screwdriver, wrap them around their matching screws.
To avoid leaks, your heating element should already have a seal on the threading. Wrap 5-6 layers of Teflon or plumber’s tape around the threads if it doesn’t.
To Utilize Your Tank Again, Turn On the Electricity and Water Supply
After reinstalling the heating unit, turn the breakers to the on position to provide electricity to the water heater. Then, switch on the water valve such that the lever is pointing in the same direction as the pipes. You should get hot water once the tank is refilled.

